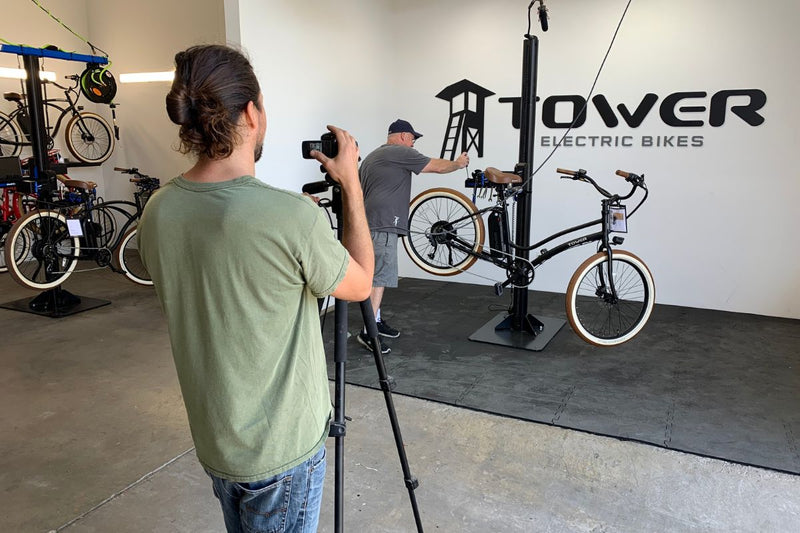
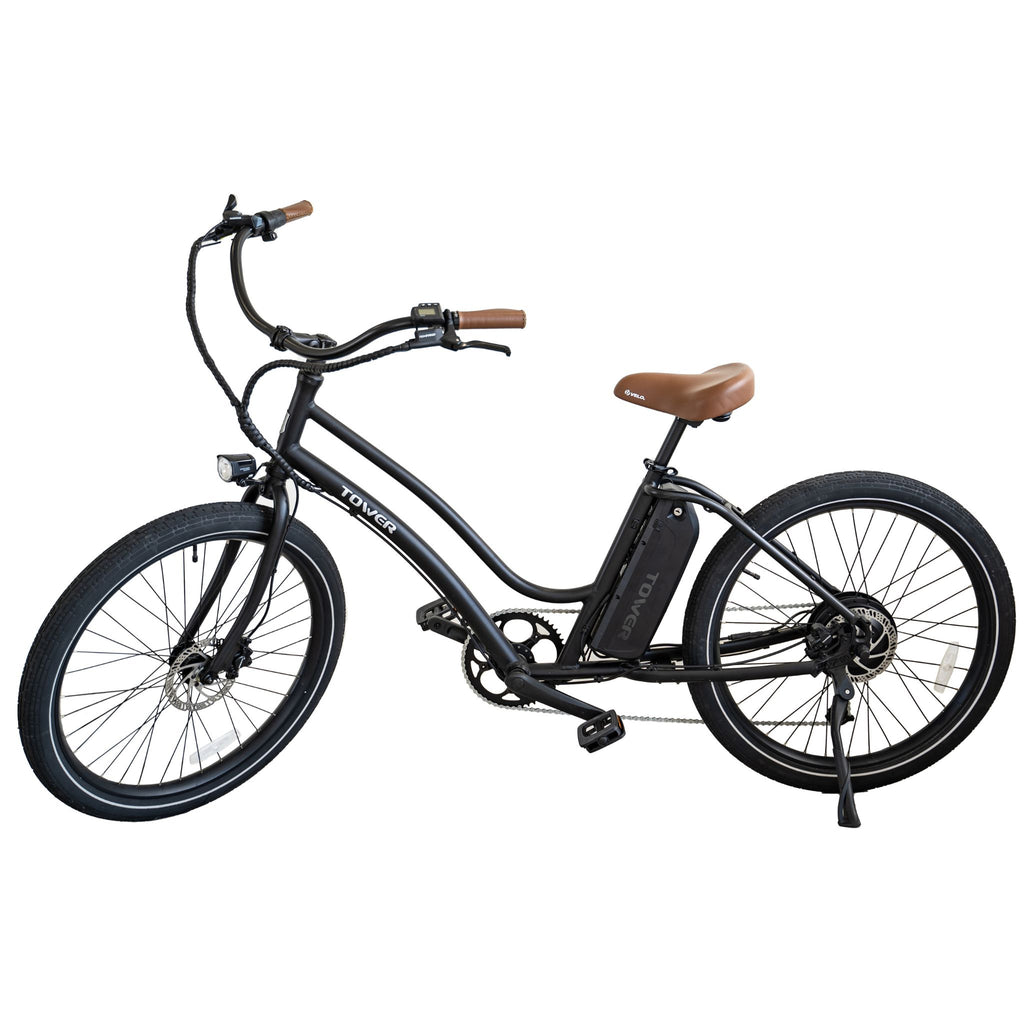
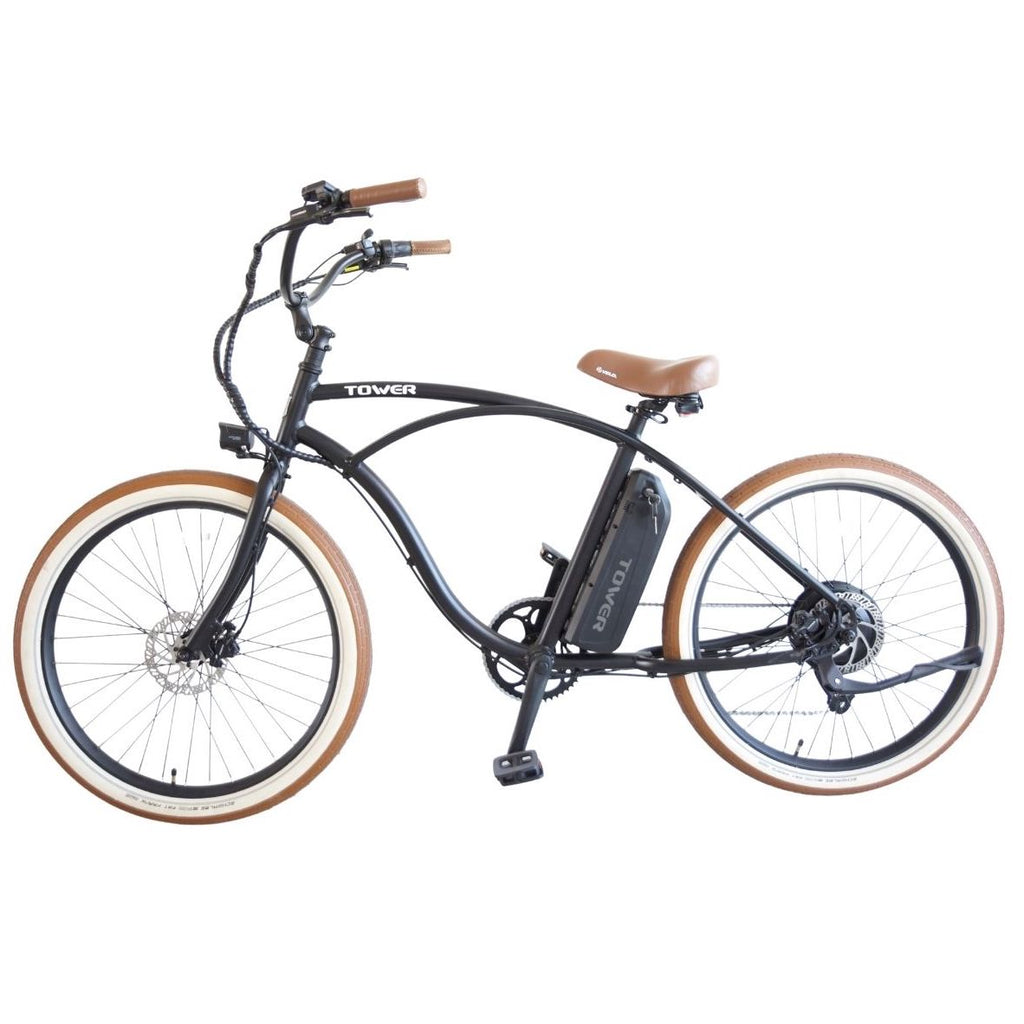
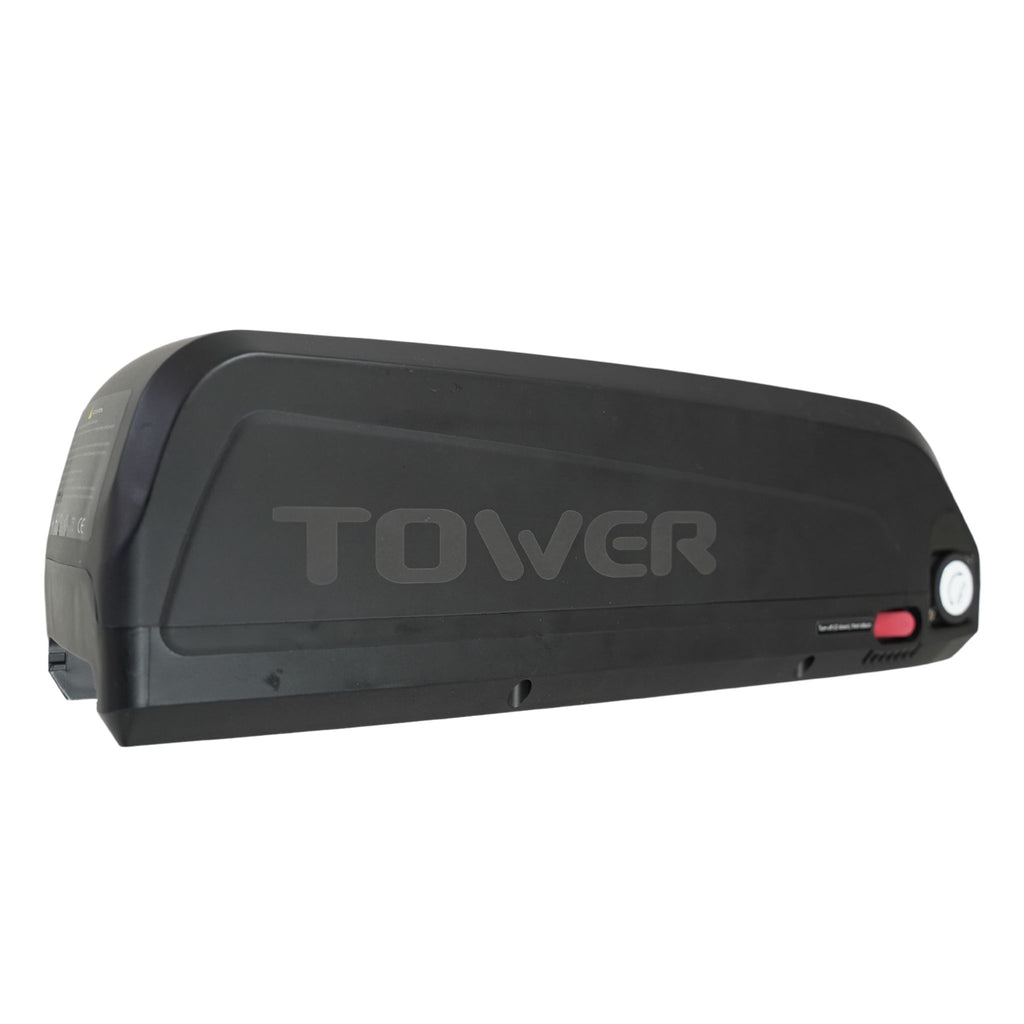
We are going to be building and assembling the Tower Beach Bum 2 . This bike has been awarded as the “Best Cruiser Electric Bike of 2020”. From the previous model, we have made over 20 upgrades while still retaining the much beloved beautiful and classic SoCal Beach vibe. This version 2 model has upgraded hydraulic Tektro brakes, a new cassette gear, a threadless bike headset, stainless steel bicycle spokes, and so much more. Lets get into the installation process.
Installing the Fork Mount
The first order of business for the build is to get off the fork mount. We will need a 17mm wrench to loosen the bolts on the mount. As you can see in the fork dropout, there is one bolt on each side. You won’t need to worry about damaging this component as this primarily functions as a protective piece during shipping. Once the bike arrives and is in good condition, the mount has already served its purpose and can be discarded. However, we recommend that you keep it as it might come handy and have some use in the future. You can mount it to a wall and mount your bike to it.
Installing the Handlebars
Now that the fork mount has been removed, we will have to straighten out the fork and have the handlebars mounted on. We must first take the faceplate off by using a 4mm allen key and removing the four bolts that hold it in place. Once the bolts are removed, the faceplate can be separated to make way for the mounting of the handlebars. The handlebars will just flip right up and there is an indication label to align it with the center. At this stage, you don’t need to worry about the positioning too much. You must secure it in place by clamping back the faceplate on the stem. Thread the four bolts back and don’t tighten them all the way down just yet.
After the bolts are all in and the handlebar is mounted, you can then adjust it for the appropriate position for you. Once you have rotated it to an acceptable position, hold the faceplate down and twist the bolts down. Another important thing in installing the handlebars to the stem is that you have to make sure that the spacing on the top of the stem is the same spacing underneath as well. Make sure that all bolts are all equally tightened. If the spacing is not even between the top and the bottom, the handlebars will be rotating around on you while you ride. To ensure that the spacing is equal, go to one of the top corner bolts and tighten it in, and then go the bolt right across it, forming an x, and give it the same amount of twist. Do this as well to the other top corner bolt and its opposite.
Installing the Front Wheel
The rear wheel is already installed so only the front wheel needs to be done. The front wheel has two 15 mm axle nuts. Before installing it to the bike frame, you have to unscrew them and get them loose in order to have some space for it to slot right into the front axle.
At the bottom of the bicycle fork and inside the front brake caliper, you will find a little black tab. You will need to pull it out and set it aside. This piece is very important as it acts as a brake for the Tektro brake pads to make sure that the pistons don’t close in on themselves and get stuck. In case you are transporting the bike without the front wheel, that black tab will be handy to have.
With that tab removed, you can then place the front wheel into the fork. Make sure that the rotor goes right in between the brake pads inside the caliper. You can give it an extra push from the bottom or on the hub to make sure that it's slotted into the dropouts all the way. Another way to make sure of this is to flip the bike upside down to let gravity do the work and pull the wheel into the dropout. Once the front wheel is in place, proceed to tighten down the 15mm axle bolts. Make sure that it is nice and tight.
Installing the Pedals
The next thing we have to do is to get the pedals mounted onto the bike. Luckily, the pedals on the Beach Bum are already labeled with stickers to distinguish the left and the right. The crank arms are also marked on which side they are. However, if ever the stickers and the marks come off, you can tell which side is a particular pedal by looking at the threading. As a general guide to remember which side is which, the left side is always reverse threaded.
You need to match the correct pedals to the crank arm and insert the pedal thread into it. Simply pedal backwards (counterclockwise), and it will thread right in. Do this for the right and left pedals . Once they are threaded in, you can tighten the pedals by using the same 15mm wrench you used for the axle bolts when installing the front wheel.
You need to make sure that the pedals are properly secured. If they are not, they will gradually unthread as you are using the bike. This will then cause it to move and wiggle around and will bore out the crank arm. This is easily avoidable, so remember to check that the pedals are threaded tightly.
Installing the Front Head Light
Next up is to install the front ebike headlight on the Tower Beach Bum V2. The front headlight is on the little parts box. Before putting it in place, check and make sure that the cable is intact. We recommend giving the cable a little fold to get a good angle. You can actually tilt it back without putting too much stress on the cable.
The headlight will be installed at the top of the fork in the front of the bike. You will need to use a 10mm wrench and a 4mm allen key when securing it in place at the stem. Put the bolt through the hole at the bottom and tighten it down at the back. You must make sure that it is finger tight. Hold the front headlight in place and make sure that it stays straight and in the right angle as you tighten it down.
Once the headlight is securely in place, you will need to plug its cable. You will find on the stem cables that there is a loose cable with a red connector. This matches the red plug of the headlight. There is an arrow label on both connectors and those arrows should be aligned as you connect the cables.
Freshly out-of-the-box and assembled, the Tower Beach Bum V2 should be pretty good to go. However, to make sure that it performs well and as intended, it will need some light adjustments especially in the shifting and braking.


