Figuring out what is going on with your electric bike can often be trickier than actually replacing the part! Why is this? Electrical diagnosis is difficult because certain issues can be caused by many different things, which is different than if the bike parts aren’t working properly. If you have a flat tire for example, there are only a few things that can cause it and there is a straightforward service. But in the electrical system, it is a bit more complicated. A bike not powering on for example could be caused by multiple different things and figuring out which of these it is can be the tough part. But with this guide, we will hopefully help clear some of the mystery on how the system works so you can figure out what is going on!
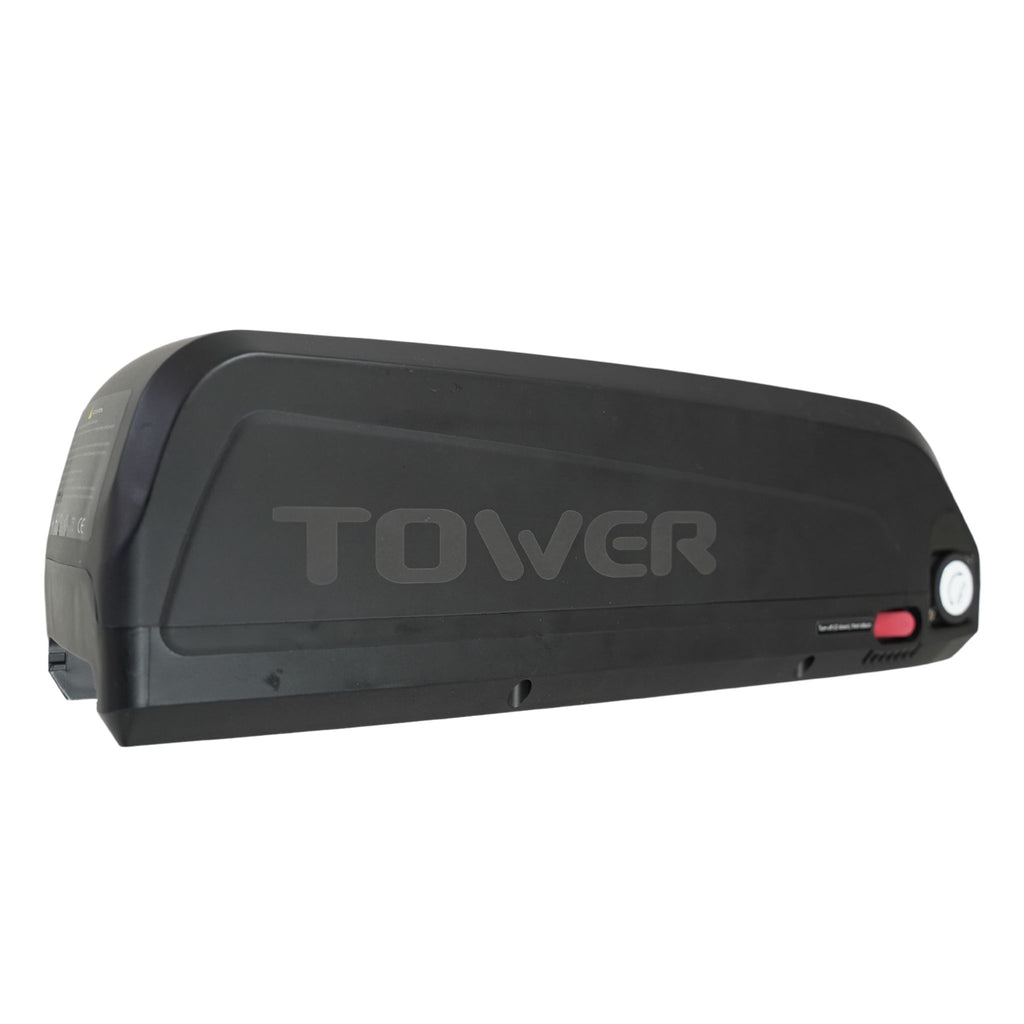
The first thing to always remember when working on and diagnosing ebikes is to follow the power. The power starts at the battery and then is distributed to the bike where the various parts function. We will take the throttle as an example. The flow of power to the throttle goes to the battery -> controller -> wiring harness -> throttle. So if your throttle has stopped working, it means something along that path of power that has gone wrong. We need to figure out what that part is!
We also run a system of process of elimination. As we follow the power, we eliminate possibilities as we go along. We always start at the battery, as without that, nothing on the bike will work! So having the bike be able to turn on is usually an indication the battery is working as it should. The next part on the path is the controller. The controller is sort of like the brain of the ebike. It is where the bike has all of the signals sent to and knows what to do with those signals. So if something goes wrong in the controller, it can cause problems all over the bike. If something is going wrong on an ebike, the controller is usually a good suspect. But it is not always the culprit and the controller is the toughest part of the system to swap, so we will put that on the backburner for now. The next step in our process would be the wiring harness. This one can be a bit more difficult to diagnose whether it is working or not, as you would need a multimeter to check the continuity of the cable. We will go into a bit more detail on how to check continuity in a later section. But for our example, let's say that the continuity was fine in the wiring harness. This leaves only 2 things it can be with the bike: the throttle and the controller. From here, there is not really any way to tell which it is without just switching with new, functioning parts. We also want to start this process by what is easiest to switch, which in this case would be the throttle. The throttle connects to the wiring harness with a single plug located a couple inches from the throttle itself. So switching that is much easier than the controller which is mounted to the frame. You do not even have to fully mount the new component to see if it is functioning or not. Just plugging it in and seeing it solves the problem is enough. If it plugs in and still does not function, then the problem probably lies in the controller.
However, something to consider when it comes to ebike repair is that there may be more than one part at a time that is not working. In the above example, if the controller gets swapped and still does not work, there is a chance that the controller and some other parts are malfunctioning at the same time. In this case, you would need to try and plug the new throttle in as well to see if it was also causing problems. While it is usually much less common to have multiple parts be broken at once, it is something to be aware of.
Overall, the ebike diagnosis process can seem intimidating and mysterious, but when you understand the parts of the system and how they work with each other, it becomes more like a logic puzzle that needs to be solved. It can take some patience at times, but with the simplicity of the system and simple plug and play connections, you do not need to have in-depth electrical knowledge to learn how to fix your ebike!
Everything DIY E-Bike Repairs
Homepage: eBike Repair Guide
eBike Repair Basics & Assembly
- eBike Specs and Walkthrough
- Tower eBike Serial Numbers
- Recommended Tools eBike Repairs at Home
- eBike Operation Guide
- Initial Build of a Tower eBike
- Tower eBike Torque Specs
- eBike Care and Maintenance
- Quick Reference eBike Repair Guide
eBike Brake System Service Guide
- eBike Hydraulic Brake System Introduction
- How to Adjust an eBike's Hydraulic Brakes
- How to True an eBike Rotor
- E-Bike Brake Rotor Install
- Brake Pad Install for E-Bikes
- How to Resurface eBike Brake Pads and Rotors
- How to Bleed Hydraulic Brakes on an eBike
eBike Drivetrain Service Guide
- How to Clean Your eBike Drivetrain
- Shifting Adjustment on an E-Bike
- Electric Bike Shifter Cable Install
- How to Install a New Chain on an eBike
- E-Bike Derailleur Installation
- Replace the Shifter on an E-Bike
- Replace an Electric Bike Cassette
- Crankset Install on an E-Bike
- E-Bike Derailleur Hanger Adjustment
- Installing Pedals on an Electric Bike
eBike Wheels & Tire Guide
- Flat Tire Repair on an Electric Bike
- New Tire Install on an Electric Bike
- Rear Wheel (with Hub Motor) Removal Guide
- How to True E-Bike Wheels
- Electric Bike Spoke Replacement
eBike Electric Repair Guide
- E-Bike Electrical System Overview
- Intro to Electrical Troubleshooting an eBike
- Methods of Electrical Troubleshooting an eBike
- Electric Bike Error Codes
- Electric Bike Battery Services
- Electric Bike Motor Issues
- E-Bike Will Not Power On
- Troubleshooting Pedal Assist on an E-Bike
- No Throttle Power eBike Troubleshooting
- E-Bike Does Not Pedal Assist or Throttle
- Intermittent Power Loss While Riding an eBike
Miscellaneous eBike Service Guide


