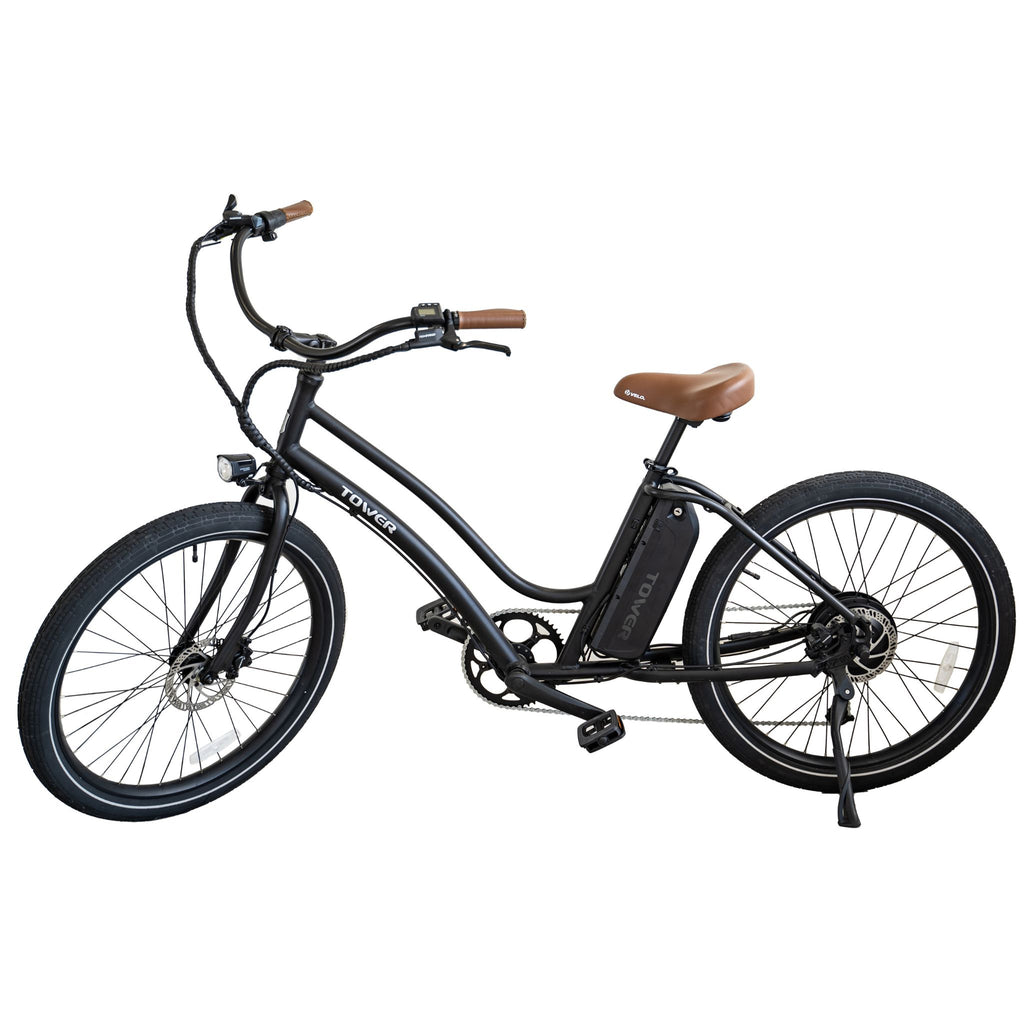
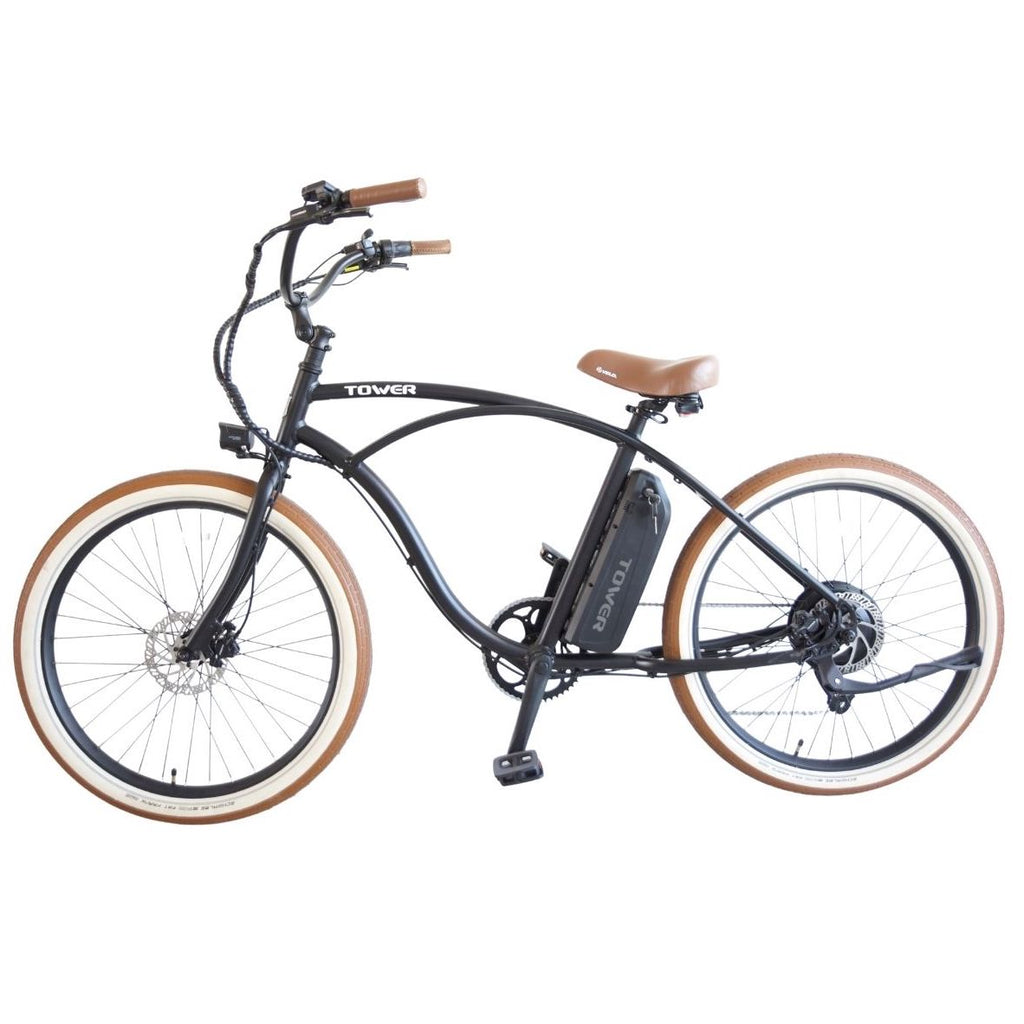
Installing new pedals on your Tower ebike is one of the easiest things you can do on your bike, but it does require some knowledge of how to do it properly. Most importantly the left side crank arm is reverse threaded, so be sure to mount the proper pedals on their proper side.
Here is a video walking through the process:
Here are the tools needed for this:
- Pedal Wrench or 15mm Wrench
Here is the process:
- First, unwrap your new pedals and identify which pedal is the right pedal and which is the left pedal. They will usually have a sticker on them, but if they do not, there is usually an L or an R stamped onto the pedal spindle at the threads.
- It does not matter which side you start with, but in this guide we will start on the right/crank side. Holding the right pedal spindle against the threading on the crank arm, start to thread the pedal clockwise. Once it has started to thread in, you can hold the spindle and pedal the bike backwards and it will drive the pedal in.
- Once the right pedal has been installed, you can move to the left side. The left side crank is reverse threaded, so when you go onto that side, start to thread the pedal counterclockwise. Once the pedal is started, you can pedal backwards again to thread it all the way in.
- Finish off by tightening the pedals with your pedal wrench or 15mm wrench.
Make sure the pedals are tight on the crank arms. If they are loose, they can start to unthread while riding and begin to bore out and strip the crank hole. It can also be helpful to apply some bike grease on the pedal threads before installing. It will help have a stronger hold, but will also help remove the pedals in the future if you ever want to switch the pedals out.
Everything DIY E-Bike Repairs
Homepage: eBike Repair Guide
eBike Repair Basics & Assembly
- eBike Specs and Walkthrough
- Tower eBike Serial Numbers
- Recommended Tools eBike Repairs at Home
- eBike Operation Guide
- Initial Build of a Tower eBike
- Tower eBike Torque Specs
- eBike Care and Maintenance
- Quick Reference eBike Repair Guide
eBike Brake System Service Guide
- eBike Hydraulic Brake System Introduction
- How to Adjust an eBike's Hydraulic Brakes
- How to True an eBike Rotor
- E-Bike Brake Rotor Install
- Brake Pad Install for E-Bikes
- How to Resurface eBike Brake Pads and Rotors
- How to Bleed Hydraulic Brakes on an eBike
eBike Drivetrain Service Guide
- How to Clean Your eBike Drivetrain
- Shifting Adjustment on an E-Bike
- Electric Bike Shifter Cable Install
- How to Install a New Chain on an eBike
- E-Bike Derailleur Installation
- Replace the Shifter on an E-Bike
- Replace an Electric Bike Cassette
- Crankset Install on an E-Bike
- E-Bike Derailleur Hanger Adjustment
- Installing Pedals on an Electric Bike
eBike Wheels & Tire Guide
- Flat Tire Repair on an Electric Bike
- New Tire Install on an Electric Bike
- Rear Wheel (with Hub Motor) Removal Guide
- How to True E-Bike Wheels
- Electric Bike Spoke Replacement
eBike Electric Repair Guide
- E-Bike Electrical System Overview
- Intro to Electrical Troubleshooting an eBike
- Methods of Electrical Troubleshooting an eBike
- Electric Bike Error Codes
- Electric Bike Battery Services
- Electric Bike Motor Issues
- E-Bike Will Not Power On
- Troubleshooting Pedal Assist on an E-Bike
- No Throttle Power eBike Troubleshooting
- E-Bike Does Not Pedal Assist or Throttle
- Intermittent Power Loss While Riding an eBike
Miscellaneous eBike Service Guide


